- Post length: Short (4 minutes)
- Difficulty: Beginner
Unity Collaborate
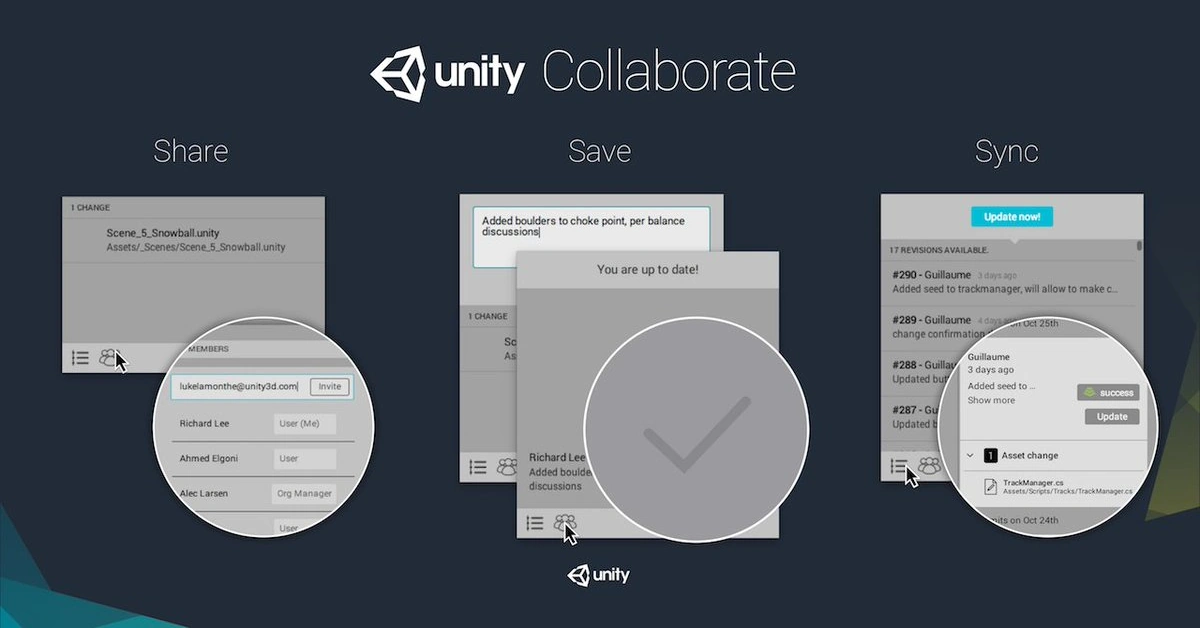
Unity Collaborate is an official Unity tool that hosts your project on the cloud so people on the project’s organization can edit it at the same time.
This service has paid plans and a free plan. The free plan let’s you add 3 accounts to an organization, so you do not need to pay to try Unity Collaborate. However, you can easily avoid this free plan restriction by simply sharing accounts within your team. This way you can have infinite numbers of team members but you will not be able to tell apart from who submits changes to the project since everyone will sharing accounts. Keep in mind that this may not be legal so it is probably worth to spend some time to explicitly check it.
There is also another important limitation when using Unity Collaborate which is that your cloud content cannot be higher than 1GB. A simple solution to this is either purchasing more storage or not uploading heavy files to the server. To begin with, uploading big files to any version control system server is already a bad idea since it adds unnecessary overload.
Setup and configuration
It can be a little challenging to setup this service for a project as a beginner but I will try my best to explain how it is done. So far, there are only two ways to do this procedure, through Unity ID or from the Unity editor itself. I suggest trying both methods beforehand and then choose whichever your prefer the most. First, you need to create a new organization:
- Go to Unity ID
- Organizations
- Add New
- Create an organization
- Go to Organizations
- Manage your organization
- Members & Groups
- Add members
- Make members accept invitations
- Confirm members have been added
- Decide Unity version of the project
- Install said version for all members
Unity ID method
- Go to Unity ID
- Project Management
- Switch organization on top right
- Create project
- Open your created project
- Copy project ID
- Open Unity
- Create new project
- Window > Collaborate
- Set Project ID
- Use an existing Unity project ID
- Select organization
- Select project
- Link project ID
- Enable Collaborate
Unity editor method
- Create new Unity project
- Window > Collaborate
- Set Project ID
- Select organization
- Create project ID
- Enable Collaborate
In fact, as you might have seen, the Unity editor method is much easier and faster to use. Now, you can upload your changes to the server and download your teammates changes while sharing the same project. If you need more information, here you can read an official PDF explaining in detail how to use Unity Collaborate and how it works.
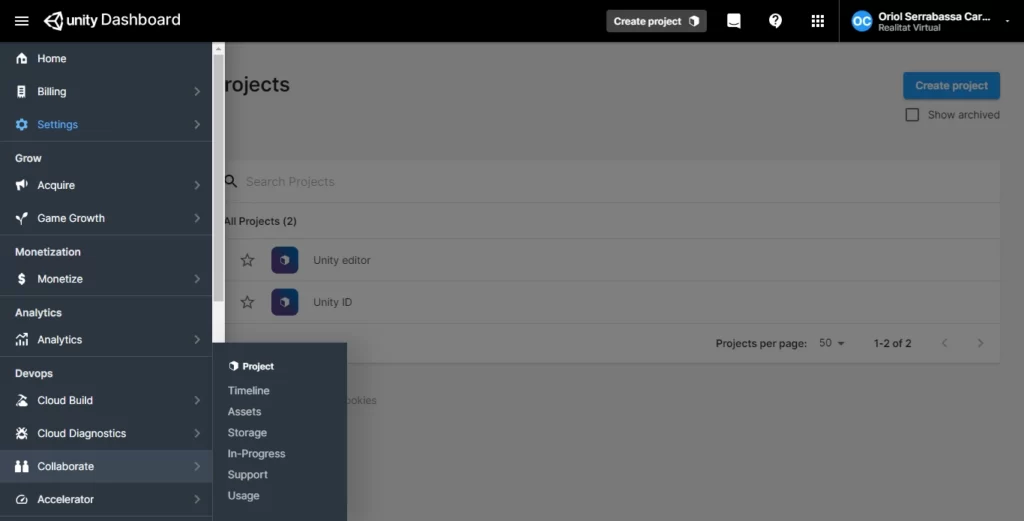
Although, remember that your organization cloud’s content with a free plan is going to be limited to 1GB whatever approach you end up using. Unless of course, you decide to buy more storage. To check how many space you have used, you can do so through your Unity Dashboard. You can either check the total projects file size or by each individual project.


